How to Prevent Concrete Moisture Problems Prior to Installing the Floor

Concrete contains a substantial amount of water in the initial mix, so it’s important to allow plenty of time for the concrete to dry sufficiently.
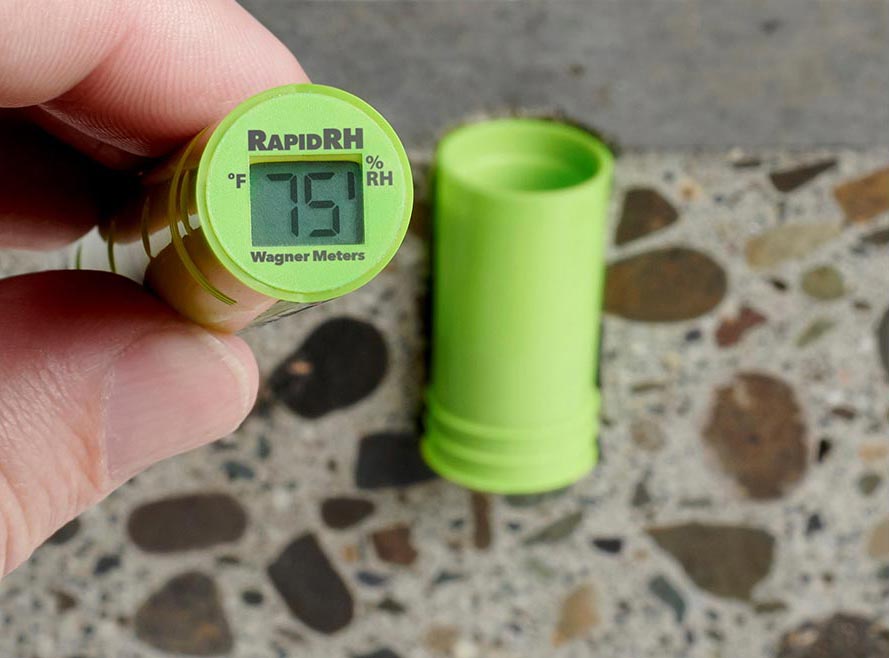
Photo: Wagner.
Concrete can be frustratingly deceptive. When it hardens after it is poured—through a curing process that occurs relatively quickly—concrete’s solid appearance can give the mistaken impression that it is dry. But looks can be deceiving!
Concrete contains water—all the time
The fact is this: concrete requires a substantial amount of water in the initial mix if it is to take on its characteristic strength, hardness and durability. And while concrete undergoes a drying process over time, it always retains some water.
Any flooring installer or contractor who ignores this key fact, puts down a finished floor product and doesn’t consider the moisture in the concrete slab is risking a catastrophic flooring failure. For wood floors, the problems may include buckling, warping, cupping, crowning, mold and mildew. For coatings and sealers, excess moisture in the concrete could lead to peeling, blistering, debonding and other unsightly and expensive issues.
Fortunately, you can prevent such problems from occurring by understanding a few facts about how concrete dries and how to conduct an accurate concrete moisture test. This basic knowledge will save you time and money because you’ll be able to avoid costly repairs and remediation.
How concrete dries (hint: slowly)
A concrete slab’s drying process begins only when the environment is conducive for drying. Even then the process can seem painfully slow, kind of like watching paint dry only much, much slower. The general rule of thumb is that it takes about one month of drying time for every inch of slab thickness, once the environment has consistent and reasonable temperatures and humidity. For a five-inch concrete slab, this equates to five months of drying. Not a fast process to say the least!
It’s also important to recognize that this rule of thumb about drying is merely a guideline to help with project planning. It is not a hard-and-fast rule. Several factors affect the drying process, such as ambient temperature and relative humidity, whether the building is fully enclosed from the elements, and whether the HVAC is turned on.

Avoid the temptation to use a surface-based test, because it won’t detect the higher levels of moisture deeper in the concrete slab. Photo: Wagner.
Concrete almost always dries from the top down, meaning that moisture evaporates from the surface. This creates a moisture gradient in the slab with less moisture at or near the surface than deeper down.
Understanding this gradient is critically important when it comes to deciding how to test for concrete moisture. If you were to conduct a surface-based test—such as the anhydrous calcium chloride test—you might be led to conclude that the concrete is sufficiently dry, even though significant amounts of moisture could still be lurking deep within.
It’s yet another powerful reminder that concrete can be deceptive. Just because you can’t see moisture and just because a surface test fails to detect it, does not mean the concrete is dry enough for your flooring product to be safely installed.
What’s the best way to test for concrete moisture?
Given this understanding of how concrete dries, it doesn’t take rocket science to realize that you’ve got to test below the surface to gain an accurate picture of the concrete’s moisture condition.
Use an in-situ RH test kit to get an accurate assessment of the moisture condition of a concrete slab. Photo: Wagner.
But exactly how deep? This became the subject of scientific research back in the 1990s. Studies at Lund University in Sweden and elsewhere pointed to taking relative humidity measurements in the concrete at 40 percent depth for a slab drying from one side (or 20 percent depth for a slab drying from two sides). This served as a reliable predictor of the amount of moisture that the finished floor product would “see” once the slab is sealed and the moisture gradient inside the slab equilibrates.
This in-situ relative humidity (RH) test, as it became known, is now standardized as ASTM F2170. Several manufacturers provide RH test kits that comply with the standard’s guidelines. One of the most widely used kits is the Rapid RH L6 by Wagner Meters.
Fortunately, an RH test is both easy to perform and economical, plus you get accurate, reliable readings of concrete moisture within 24 hours. With such a fast, convenient way to know the slab’s true moisture condition, there’s no excuse for neglecting to evaluate concrete moisture levels.
What to do with your RH test results
Once you get your RH readings, the next step is quite simple. You want to compare the readings to the manufacturer specifications for the finished floor system you’ll be using. If the RH readings meet the spec set by the manufacturer, you’re good to go.
But what if the RH readings come back too high, which they often do if not enough time has elapsed since the slab was poured?
In that case, you’ve got a choice. You can wait for the slab to dry sufficiently while ensuring optimal conditions for drying (for example, applying air movement to the surface of the concrete, setting the HVAC to service conditions). Or, if the construction schedule doesn’t give you the luxury of more drying time, your other choice is to consider applying an effective moisture mitigation product.
Going the moisture mitigation route typically means applying some type of product to the surface of the slab that lessens the amount of moisture that will come in contact with the installed flooring system. When using a mitigation product, always be sure to consult the manufacturer for specific recommendations for using the product, and keep in mind that surface preparation is usually required.
Another drawback is that moisture mitigation solutions typically don’t come cheap. And it’s important to remember that if the surface moisture barrier gets compromised in any way, moisture from the concrete could damage the flooring or finish.
Either way, you win
Generally, if you have the time, allowing the concrete to dry naturally is best. But either way, you win—if you test for concrete moisture using the in-situ RH method and only move forward with the finished floor installation when you’ve determined it’s safe to do so. The last thing you want is to risk an expensive moisture-related flooring failure.
Looking for a reprint of this article?
From high-res PDFs to custom plaques, order your copy today!


