Step-by-Step Guide for Using a Handheld Meter to Measure Moisture in Wood
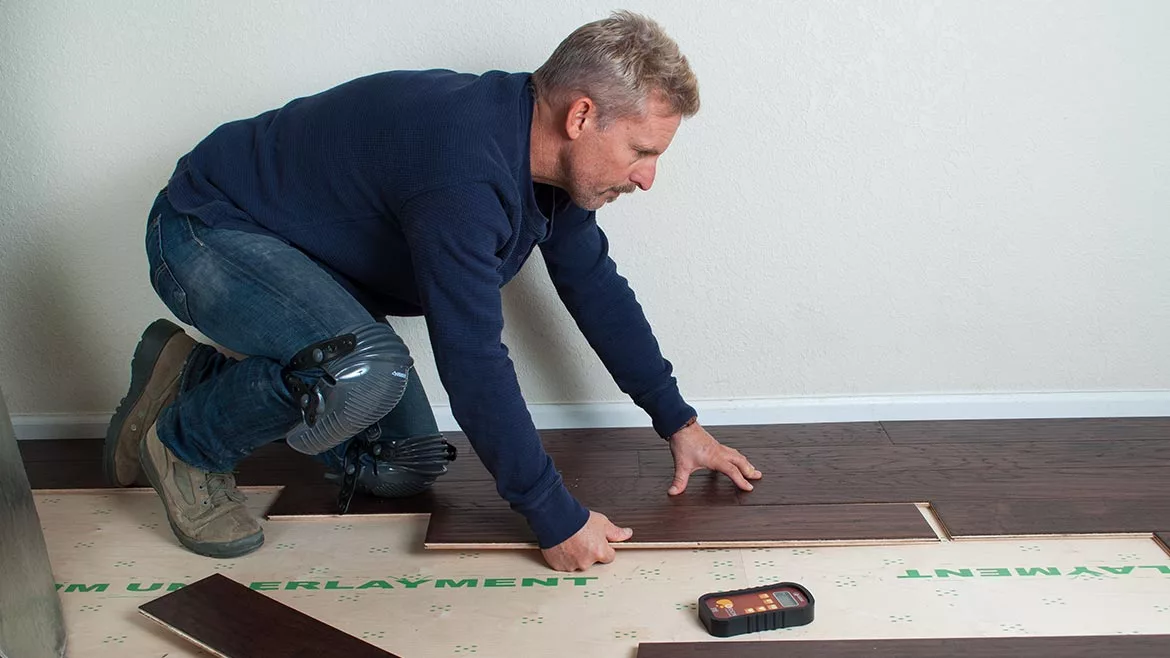
A craftsman uses a precision moisture meter to test hardwood flooring, ensuring the wood has reached equilibrium moisture content (EMC) before installation.
Photo: Wagner Meters.
Do you install wood flooring? Build wood furniture? Construct wood cabinets?
If you work with wood in any capacity, then you probably already appreciate how important it is to monitor the moisture content (MC) of the wood you’re working with.
After all, wood responds to moisture in the surrounding environment. It expands when it absorbs moisture and shrinks when it releases moisture. If the expansion or shrinkage becomes too great, the wood can get damaged or no longer fit together properly with other wood pieces.
To minimize these risks, you want your wood’s MC to match as closely as possible the equilibrium moisture content (EMC) of its end-use location. EMC is a calculated number based on a location’s relative humidity and temperature. Wood that’s at EMC won’t absorb or release moisture, so this is the target number you always want to aim for.
How will you know your wood has reached that number?
By monitoring its MC both beforehand and while you’re working with it. The easiest way to do this is to use a high-quality wood moisture meter. In this article, we’ll walk you through the key steps for using a moisture meter to get accurate, reliable readings.
Step 1. Evaluate your moisture testing needs to determine the type of moisture meter to use.
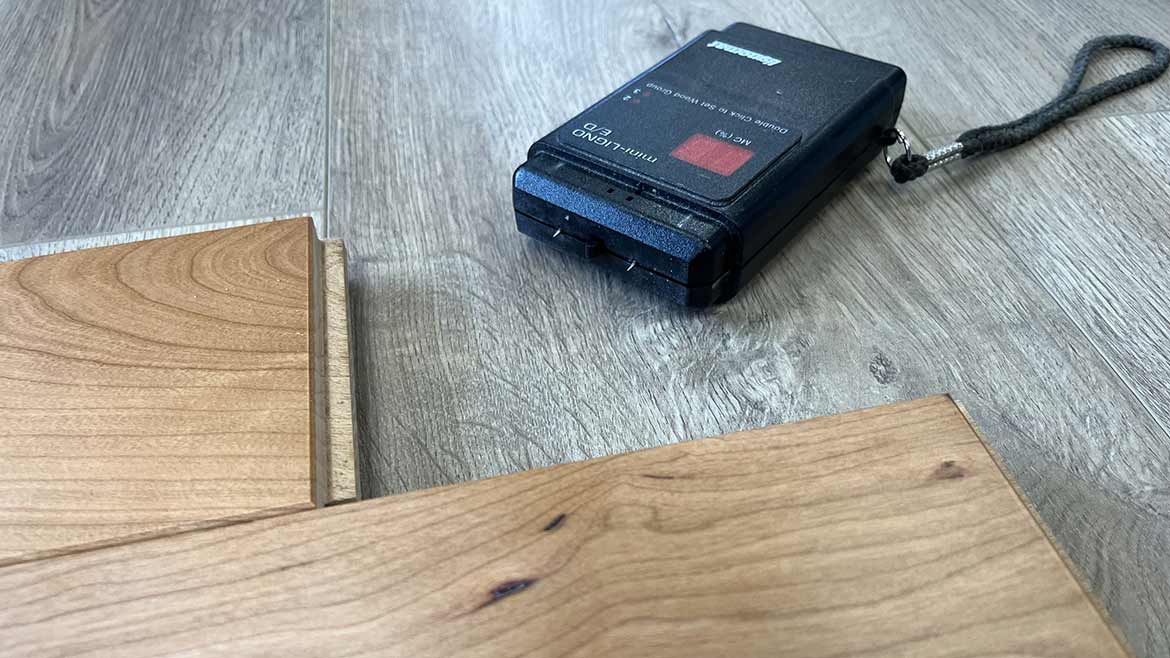
Photo: John Steier.
This first step can get overlooked, but it shouldn’t. Your testing needs and the nature of the project you’re working on will determine the type of wood moisture meter you’ll want to use.
There are two main types: pin and pinless.
With a pin meter, you insert two pins into the wood to obtain your moisture reading. Because each measurement leaves small, unsightly pinholes, a pinless meter is a lot more convenient for wood flooring, cabinets, or fine furniture.
In addition, if you’re measuring large quantities of wood, a pro-grade pinless meter is better because you can take readings much faster than you can with a pin meter, and each reading you take reduces the likelihood of missing a problematic board.
On the other hand, a pin meter with a hammer probe and insulated pins may be recommended if you’re evaluating thicker pieces of wood (say, beams 6 inches thick) for moisture levels. Keep in mind, though, that pin meters with uninsulated pins generally read much more shallow than people think—even just the surface, if that’s the path of least electrical resistance.
A pinless meter requires a flat surface for measurements. So, working on wood with a rounded surface is another reason to opt for a pin meter.
Step 2. Read the manual and become familiar with your meter.

Photo: Wagner Meters.
Using a wood moisture meter is relatively straightforward, so it can be tempting to skip this step. But again, this would be a mistake. Even though the number of settings and buttons on the meter may be few, you want to be sure you know how to use each button correctly so you can get accurate readings.
Before you plow ahead with your moisture measurements, know the answers to simple questions like:
1. How do I adjust for wood species?
2. How do I know if I accidentally set the meter in relative measurement mode? When might I need to use that mode?
3. If using a pin meter, how do I make temperature adjustments if the temperature of the wood is not close to room temperature?
Step 3. Check your meter’s calibration before you use it.

Photo: Wagner Meters.
A high-quality meter will almost always have a way to check the calibration. Perform this check periodically to ensure accurate results. Follow the instructions in the manual for how to do this.
If the meter fails to meet the calibration specifications, you will have to send it back to the manufacturer for recalibration. Alternatively, some wood moisture meters, such as the Orion® line by Wagner Meters, include a tool for easily recalibrating the meter yourself.
Step 4. Set your meter to the correct wood species.
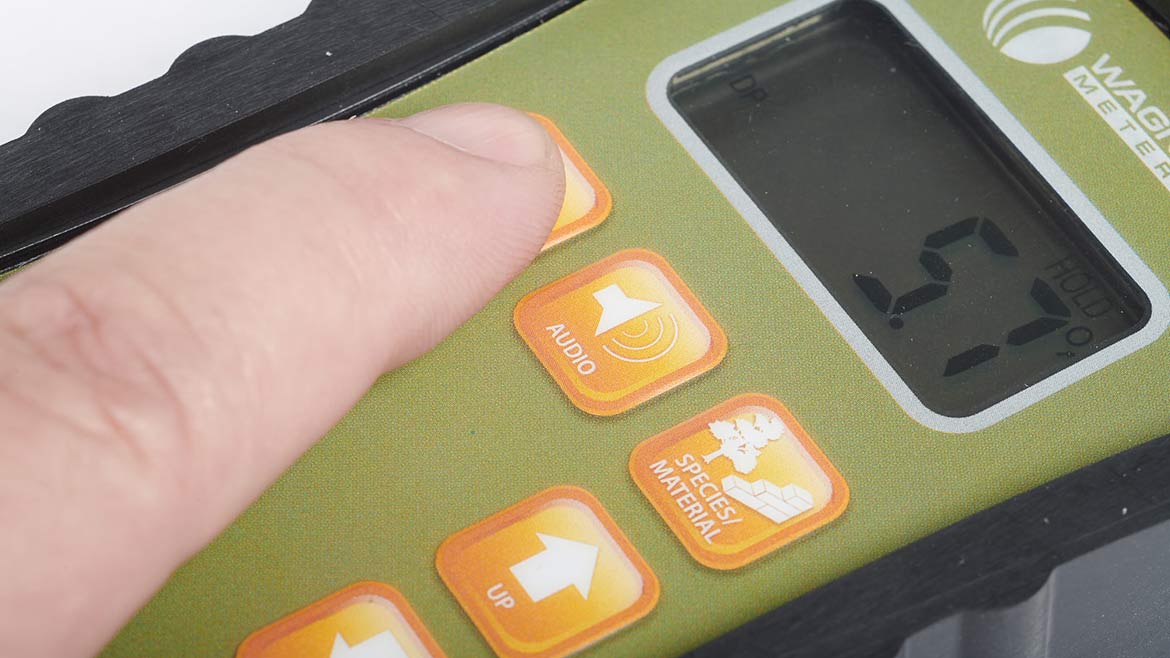
Photo: Wagner Meters.
The specific gravity (or density) of wood varies by species and can affect the readings on pinless meters. The chemical composition of wood also varies by species. This affects the readings on pin meters. Therefore, to get accurate moisture readings, you always want to take wood species into account.
Wood moisture meters are calibrated to a particular species or species group, and high-quality meters always provide a way to adjust for the particular species of wood you are using. Often, the meter has a built-in setting for making this adjustment. Simply consult the manual and follow the instructions for how to do this for your meter.
For meters that lack this built-in feature, the manufacturer typically provides a species adjustment table you can use to adjust the readings manually.
If you expect to use your wood moisture meter frequently, invest in a moisture meter with built-in species settings. This will save you time in the long run.
Step 5. Watch for surface moisture or any nearby metal that can affect your readings.

Photo: Marat Sirotyukov via iStock.
Water or condensation on the surface of the wood will affect your readings regardless of whether you use a pin or pinless meter. If you notice any surface moisture, be sure to wipe it off and wait at least one minute before taking a reading. The Orion moisture meter has special circuitry that minimizes this effect and measures moisture mostly within the wood.
In addition, avoid taking pinless moisture readings right next to metal. Moisture meters are highly sensitive to materials that have the ability to conduct electricity. Don’t measure moisture in wood directly on a metal workbench without an air gap beneath it.
Step 6. Apply the correct amount of pressure when using a pinless meter (or if using a pin meter, insert the pins properly).
Photo: Wagner Meters.
A pinless meter has an electronic scanning plate on the underside. For accurate readings, be sure this plate makes good contact with the surface of the wood. This requires that you apply firm, even pressure when taking readings.
If using a pin meter, insert both pins into the wood, checking that the pins are aligned with the grain and not against it.
If inserting the pins into denser wood, such as oak or hickory, you may need to use a slight rocking motion while inserting the pins. Try to avoid breaking the pins. But keep a good number of spare pins on hand, just in case.
Step 7. Take and record your readings.
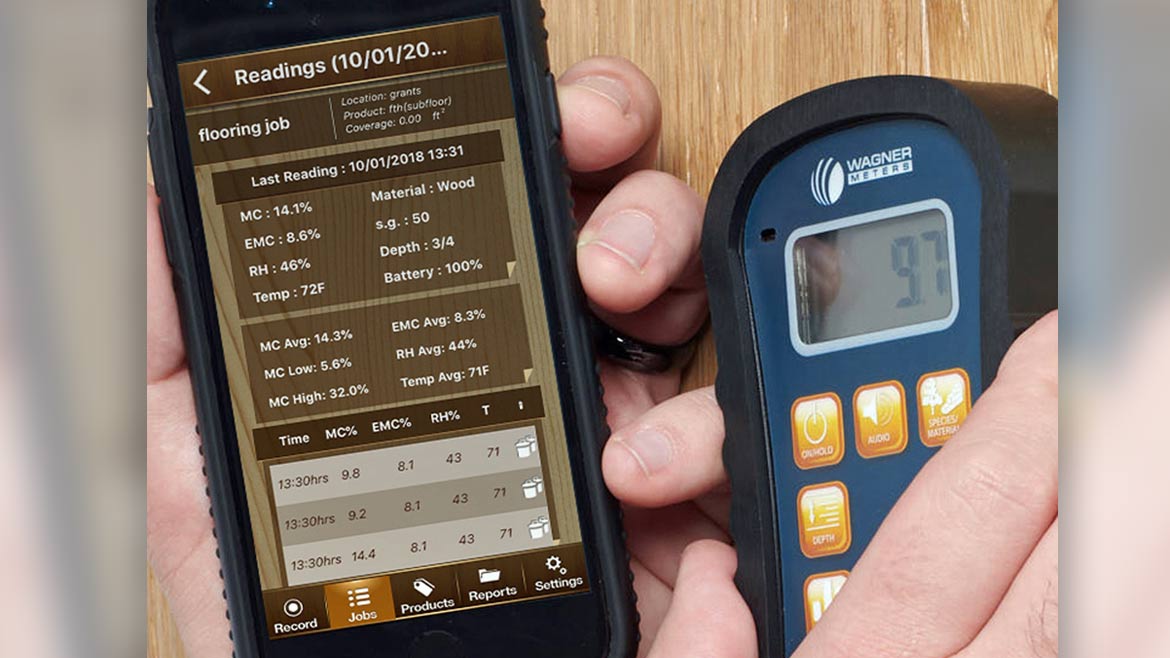
Photo: Wagner Meters.
Your meter has either a digital or analog display. Always record your readings from this display so that you clearly document for yourself and/or others how the MC of the wood changes over time and how close it is to the EMC.
If you’re doing a project for a client, this documentation could become extremely vital should problems or questions arise later.
Some meters have a “hold” function that makes it easier to transcribe your readings. More advanced meters may have a “smart” function that automatically transfers and stores all your data to an app on your smartphone.
Step 8. If using a pin meter, remember to adjust for temperature when working in a warm or cool environment.
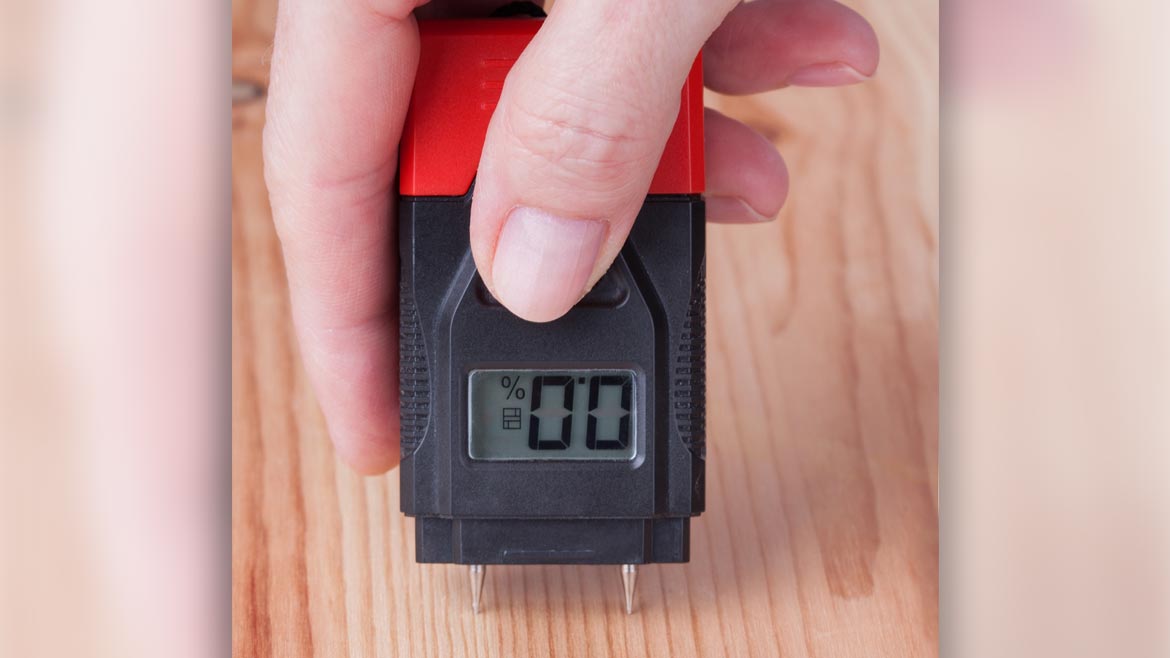
Photo: alexandre17 via iStock.
Pin meters are sensitive to changes in temperature. Therefore, to get accurate readings, you’ll want to have a way to adjust for temperature.
Some pin meters have the correction function built-in as long as you enter the temperature of the wood. But for most pin meters, the manufacturer provides a temperature correction chart you can use to make adjustments manually.
Step 9. Treat your wood moisture meter with care.

Photo: Wagner Meters.
A high-quality moisture meter is engineered to a certain level of ruggedness. But while it’s not an extremely delicate device, it’s by no means indestructible. Treat it well. If your meter comes with a carrying case, use it.
Your wood moisture meter has electronic components, so try to avoid dropping it.
And of course, even though your meter is designed to measure moisture, it’s not waterproof. Don’t leave it out in the rain or drop it in water. In addition, never leave it in an enclosed vehicle on a hot summer day.
If you discover that your meter isn’t working properly, check the manual for troubleshooting tips. If you can’t find an obvious solution, contact the manufacturer and send your meter in for service.
Remember the Most Important Tool in Your Toolkit
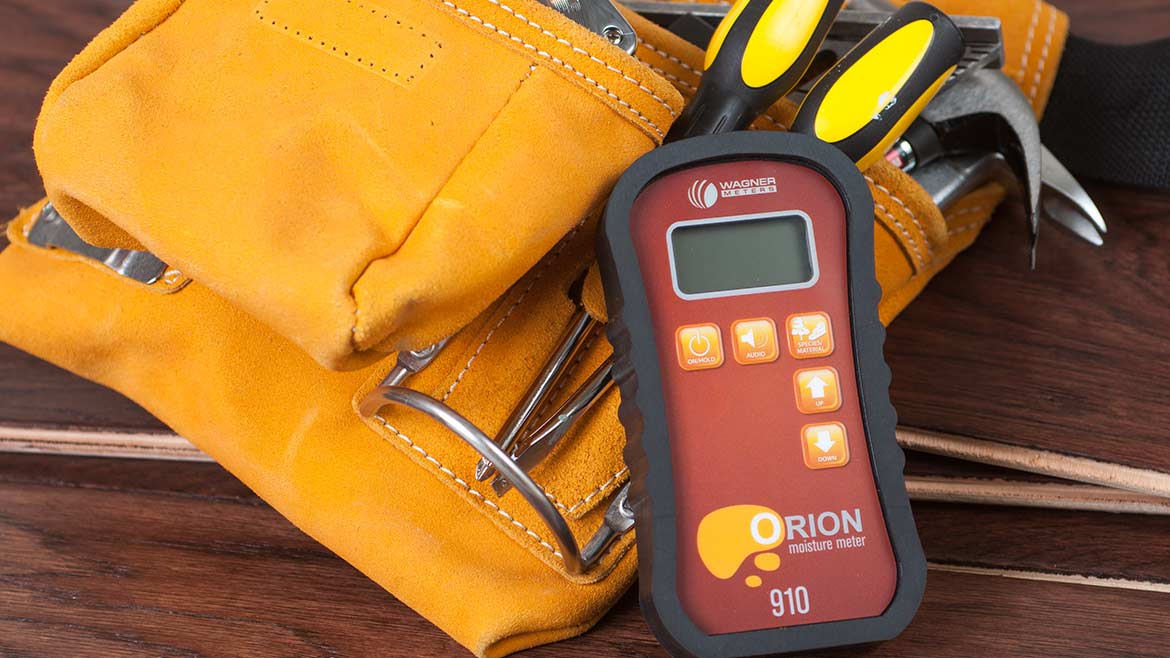
Photo: Wagner Meters.
If you work with wood, a moisture meter is perhaps the most important tool in your toolkit.
But it’s only of value if you use it. We recommend you use a moisture meter on every project where wood plays an important part.
Follow the simple steps described here, and you’ll enjoy peace of mind knowing that you’ve minimized the risk of running into moisture-related problems. And that’ll save time, money, and your reputation, too.
Looking for a reprint of this article?
From high-res PDFs to custom plaques, order your copy today!


