NWFA Expo Student Event Showcases Hardwood Industry as Career Option
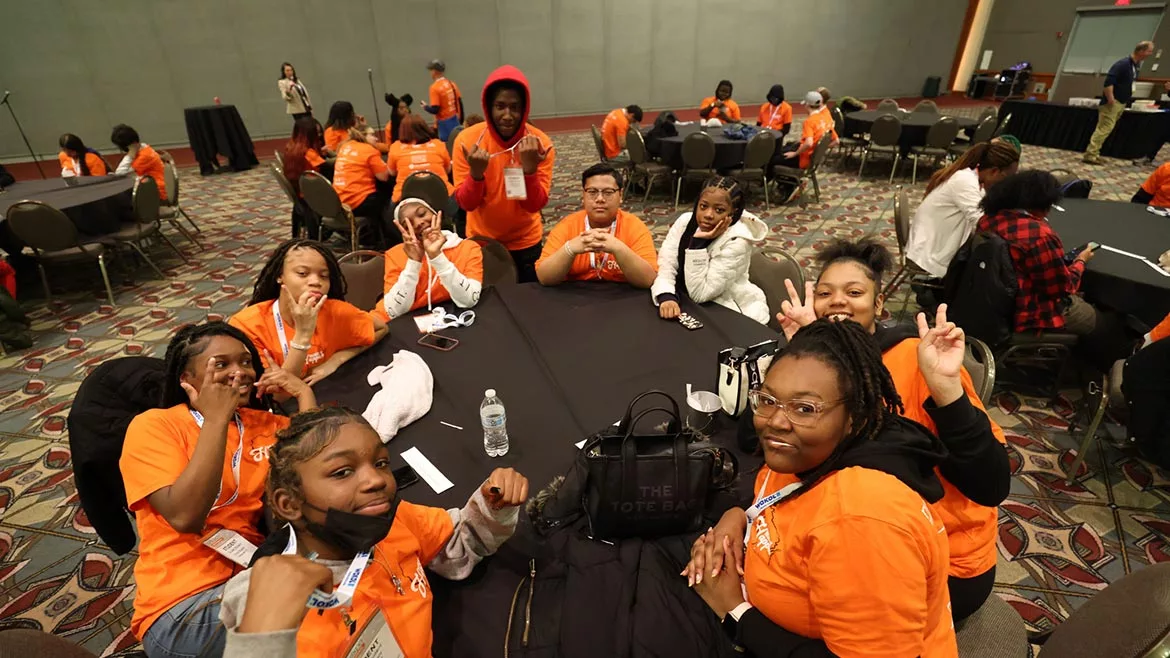
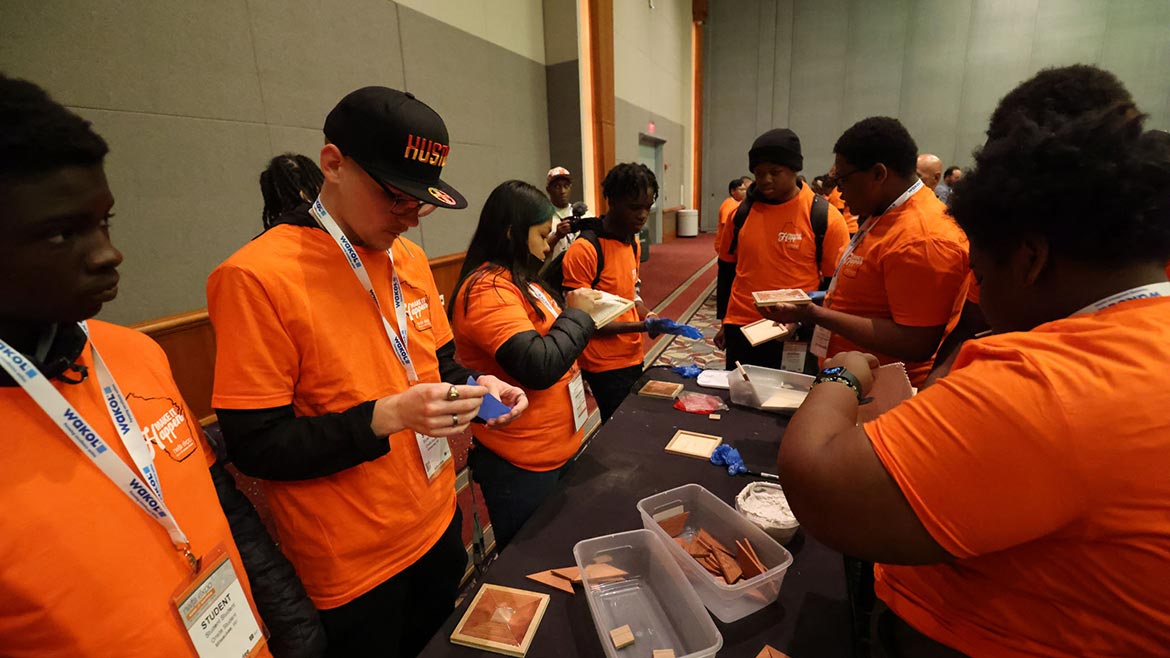
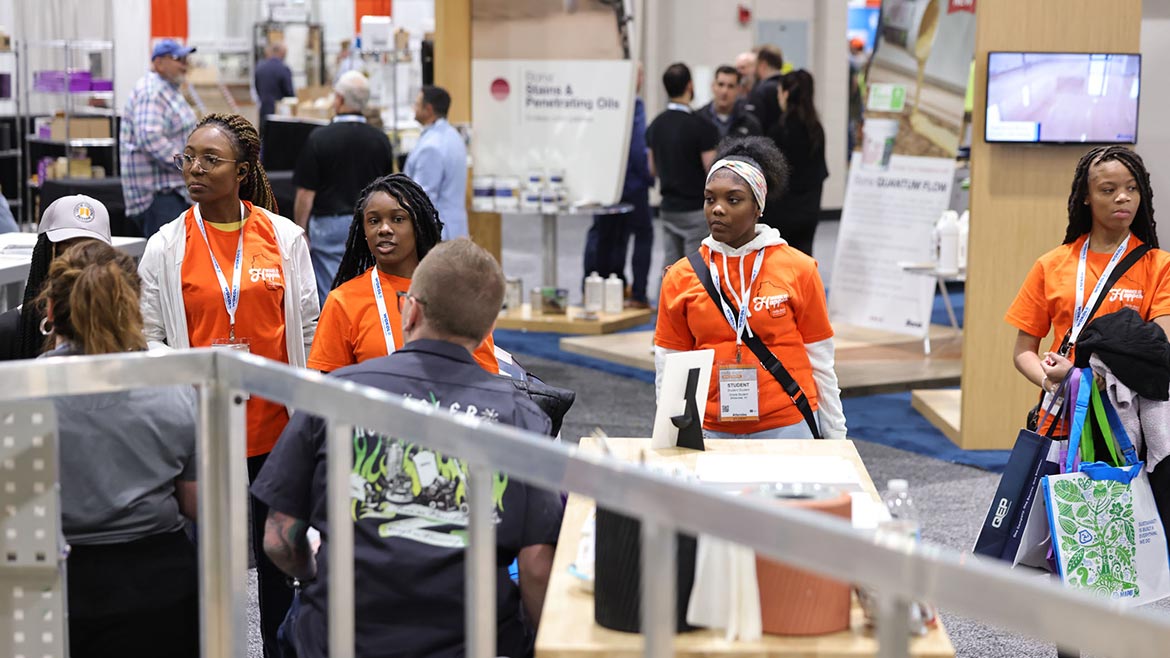
The NWFA Expo was held in Milwaukee, Wisconsin for the 2023 Expo. This year 100 local middle school, high school and tech school students attended the student day event.
Photo: NWFA.
Attracting young people to the flooring industry is certainly a challenge. There doesn’t seem to be a silver bullet solution. However, the National Wood Flooring Association (NWFA) experienced great success with its student day event at its annual Expo held in Milwaukee, Wisconsin. This year, 100 local students, ranging from middle to post-secondary school, showed up to learn more about the hardwood industry and what all it has to offer.
“For us, we want to see long term the impact that we’ve made here,” Stephanie Owen, vice president, education, NWFA. “It’s just a drop in the bucket, right? But we hope that we’ve made an impression on them and it’s something that, as they grow up, they look back and say, ‘I learned about that; that’s an opportunity that I can explore as a career.’”
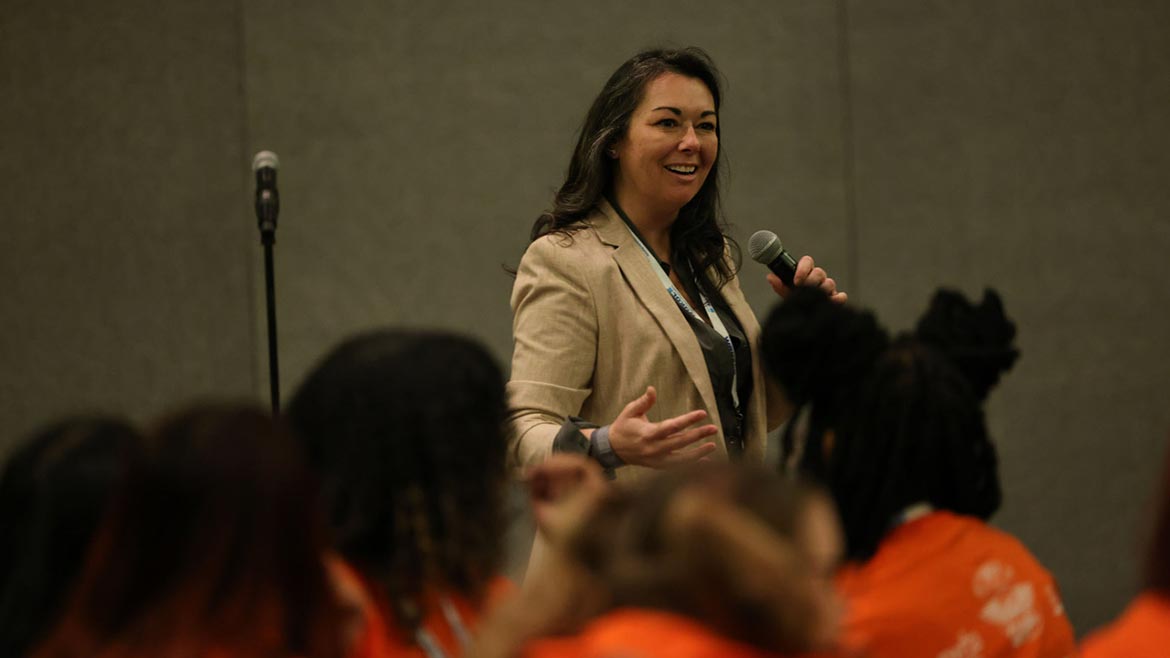
Kayleen McCabe, contractor, TV host, marketer, co-founder, McCabe Foundation—a nonprofit focused on promoting the trades as a career option, returned to kick things off. Photo: NWFA.
Kayleen McCabe, contractor, TV host, marketer, co-founder, McCabe Foundation—a nonprofit focused on promoting the trades as a career option, returned to kick things off, talk about the different pathways to success and offer a bit of advice, “Don’t let anyone’s opinion of you determine your future.”
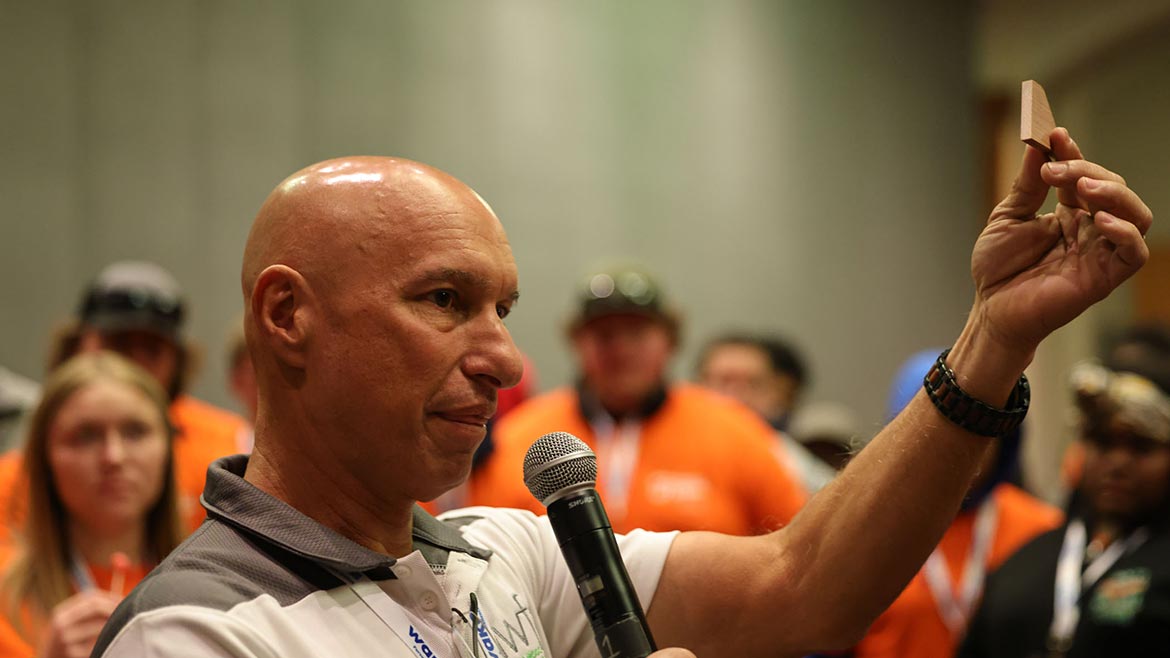
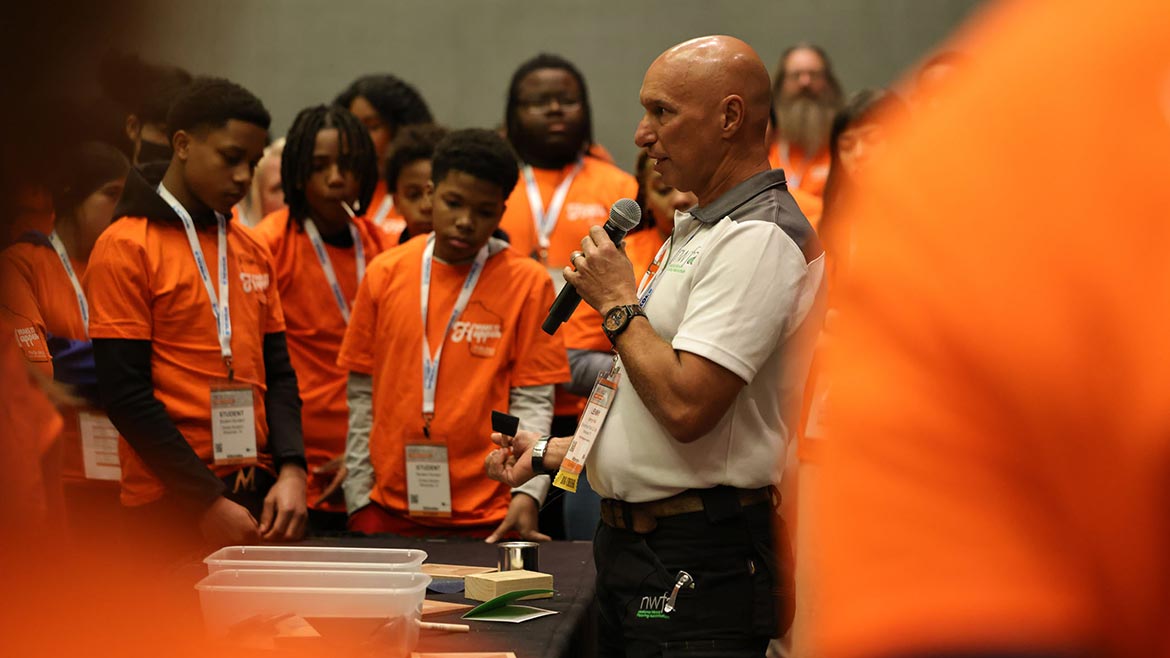
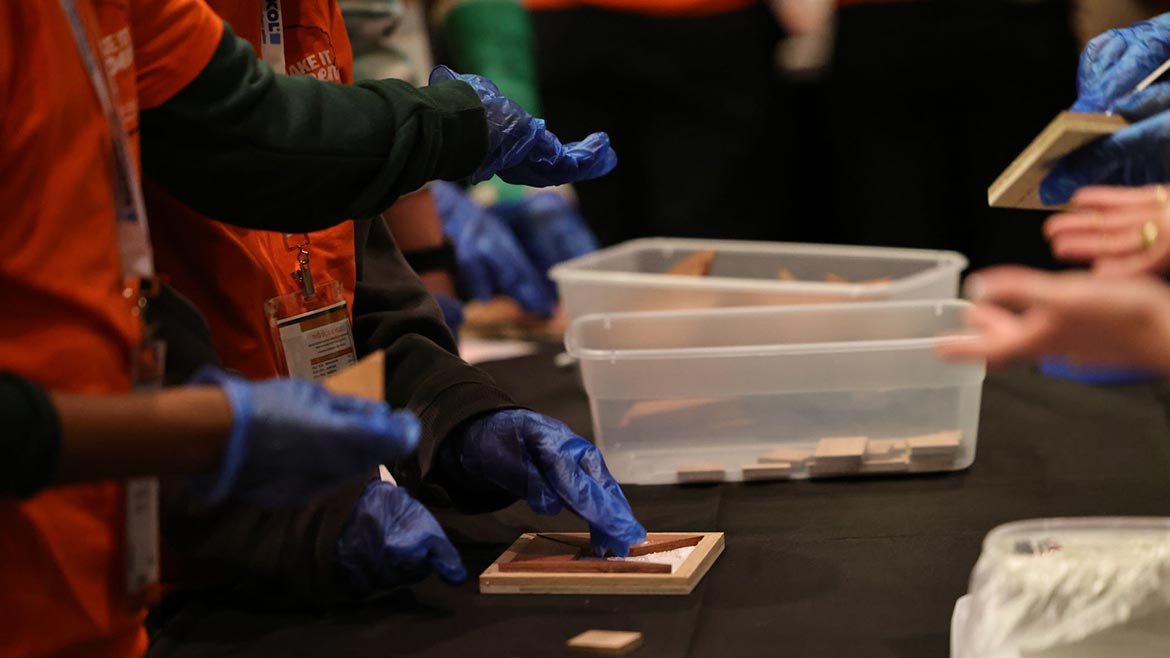
Lenny Hall, owner, Endurance Flooring and NWFA Regional Trainer, walks the students through the steps of their “make and take” wood project. Photos: NWFA
This year the students got the opportunity to work simulate piecing together a hardwood floor, sanding and finishing it. Lenny Hall, owner, Endurance Flooring and NWFA Regional Trainer, collaborated with Owen to come up with a simple, yet fun “make and take” wood project for the students to finish at home. Hall walked the students through the project assembly and how it applies to the hardwood industry.
The projects required no tools and a small list of materials which NWFA supplied. Hall and his apprentice cut the wood pieces required to complete 100 projects and shipped them to the event beforehand. DuraSeal donated small cans of finish for the students to take home and apply after sanding.
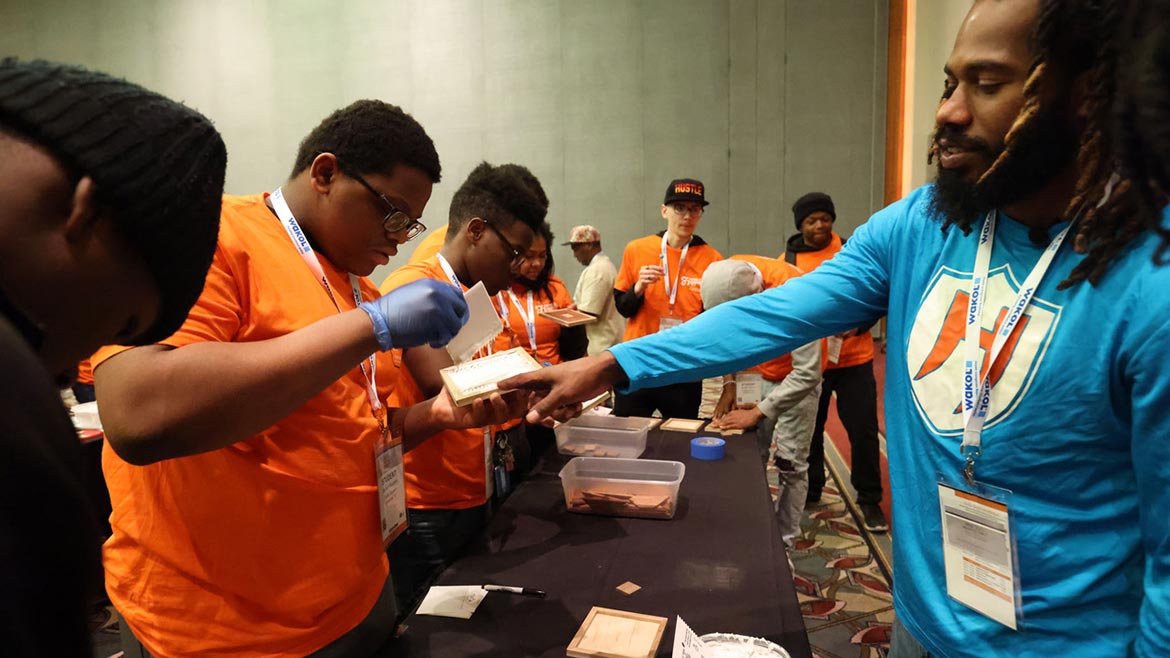
NWFA’s Emerging Leader of the Year award recipient Luis Perez, owner, Hero Flooring was on hand to talk about his flooring career journey and answer student questions. Photo: NWFA.
There were a number of wood flooring industry members on hand to speak to the students and answer any questions they might have. Among them was NWFA’s Emerging Leader of the Year award recipient Luis Perez, owner, Hero Flooring.
According to the NWFA, Perez received this award based on his efforts “to develop a brand and artistic culture for his company that will inspire the younger generation to enter the flooring industry.” Additionally, Perez’ work with local communities plays a large part in this recognition. He works with Project Backboard where he donates his time and skills to communities in need to restore their basketball courts.
It seems Perez was the man of the hour with the students. According to McCabe and Owen, Perez was asked by several students to autograph their bright orange event t-shirts. Owen recalls one student saying, “’He’s such an inspiration to me.’ I think it was a testament—somebody who was relatable to them who they could see themselves in his shoes in the future.”
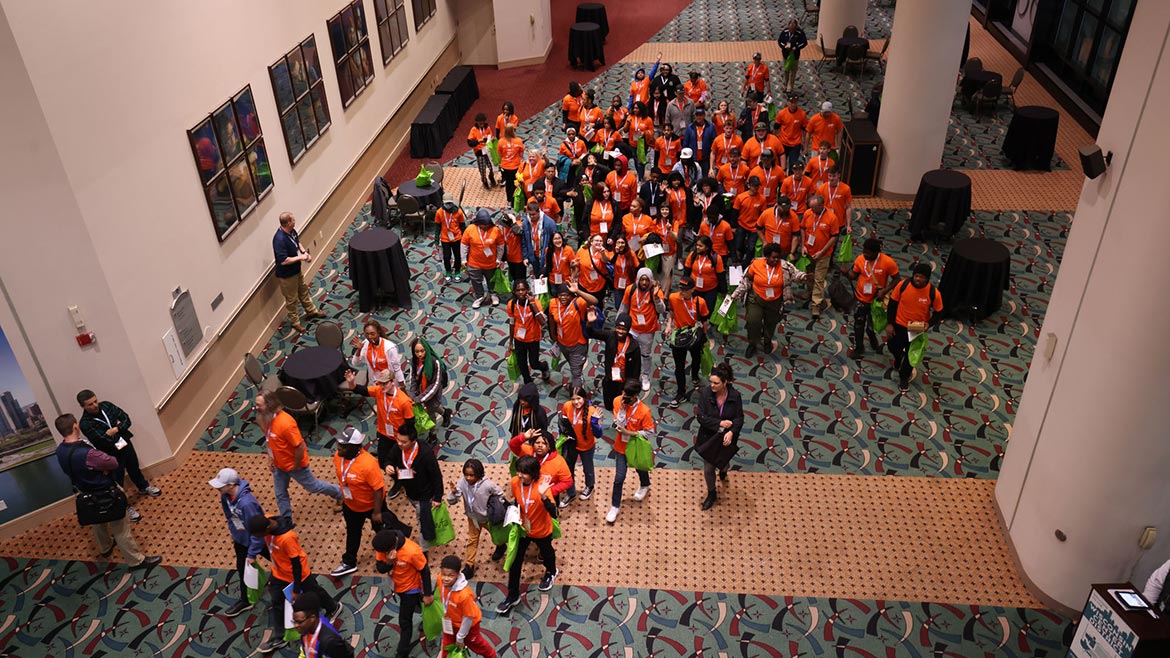
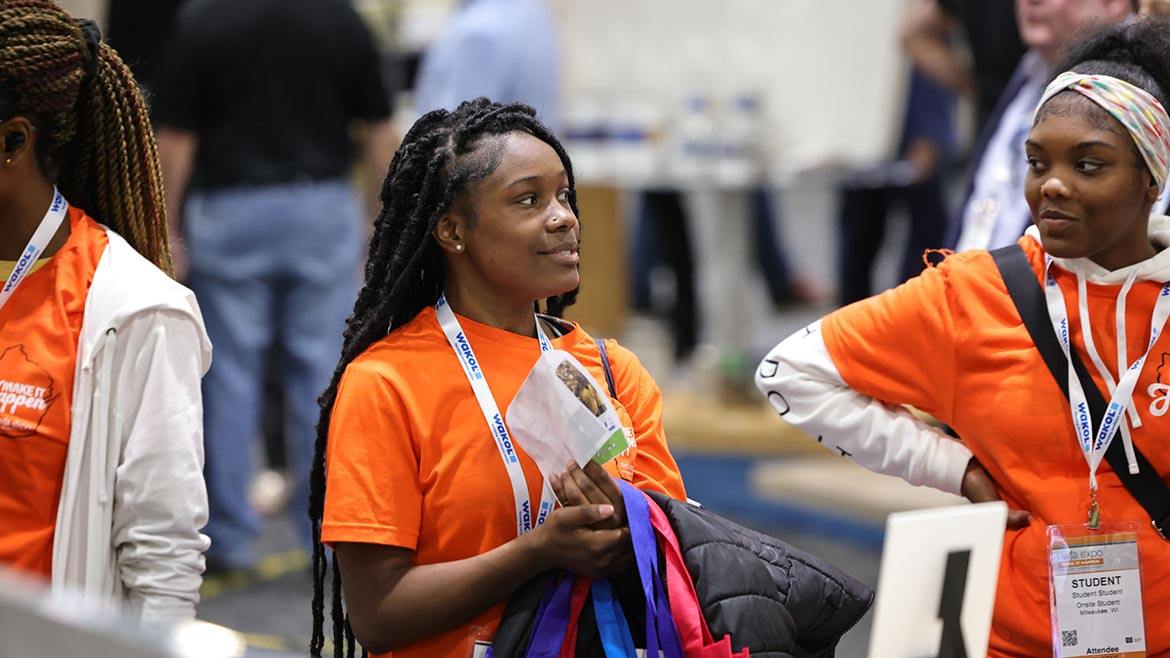
The event wrapped with a scavenger hunt on the tradeshow floor where students visited certain booths to learn about that company and the role it plays in the hardwood industry. Photos: NWFA.
The event wrapped with a scavenger hunt on the tradeshow floor where students visited certain booths to learn about that company and the role it plays in the hardwood industry. They also racked up lots of swag at the urging of McCabe, “I told them to go out on the Expo floor and take all the free stuff they can find.”
“It was great to see the impact on the students and the awe in these middle schoolers when they heard Luis speak,” said Owen. “Seeing the post-secondary, technical guys really engaged in the Expo part of it was cool too. You could see those connections being made for them. I was in the Pallman booth and some of the kids were exploring the tools in the Pallman area. I made the connection to the people in the booth and said, ‘These are kids that are in school looking at different careers.’ They ended up handing them a pamphlet with people in their region that they could connect with. That’s the whole goal, right? To get them excited, build awareness of the opportunities for careers not just installing floors but what the wood industry has to offer them holistically.”
NWFA Hardwood “Make and Take” Project Details
Lenny Hall, owner, Endurance Flooring, prepped all the wood pieces needed to complete the 100 student event projects prior to the Expo. The idea was to create something simple that required minimal supplies and no tools but placed hardwood flooring installation, sanding and finishing in the students’ hands. Here are the details of the “make and take” project along with Hall’s commentary on setup and cutting wood pieces.
Step 1: Create Design Template
This is the design template for the 6”x6” square project.
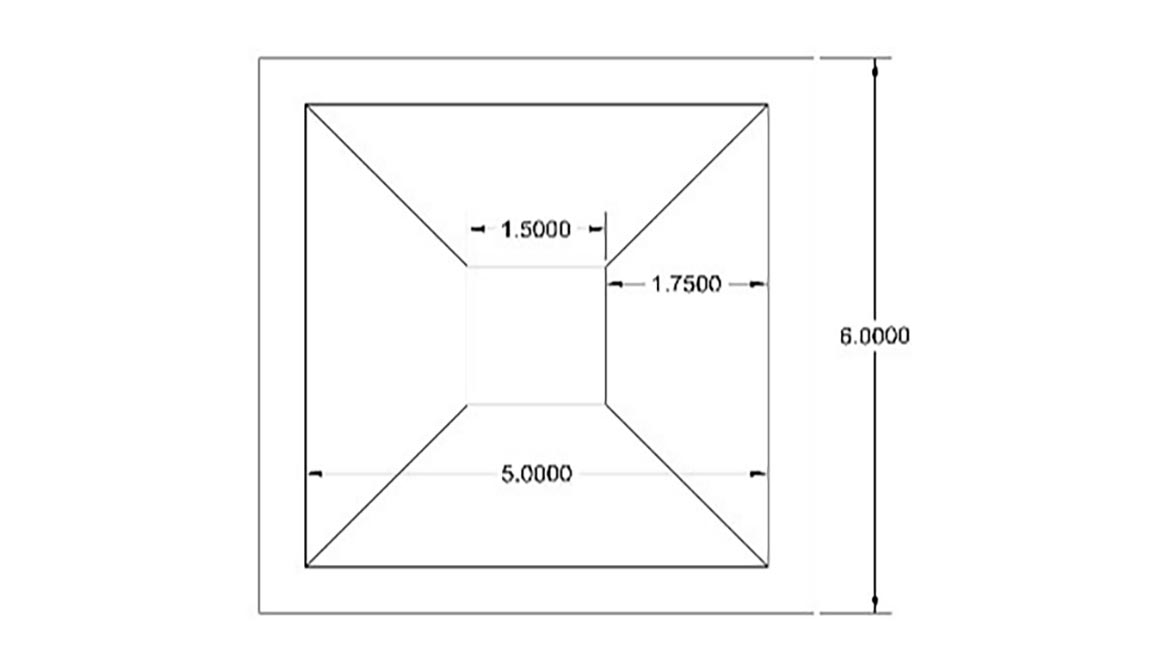
Photo: Lenny Hall.
Step 2: Calculate Quantity Needed
For 100 students: this would take the quantity of each item in the left column with each student getting the items on the right column.
100 (400) |
1 |
0.25” x 6” x 6” backer with 0.25” x 0.5” x 5.5” wood frame already mounted |
400 |
4 |
0.25” x 1.75” x 5.5” trapezoids |
100 |
1 |
0.25” x 1.5” x 1.5” square (possibly end grain, even) |
Step 3: Materials and Supplies Needed
- Adhesive for the backer
- Protected workstations
- Gloves
- Small applicators
- Small trowels
- Sharpies
- Tape
- Clean-up materials
- Bins for assorted parts
- Pictogram of the parts and where they fit
- Take-home instructions for sanding and finishing
- Sandpaper
- Finish (donated by DuraSeal)
- Foam brushes
Step 4: Prep and Cut Wood Pieces
Hall explains, “I love setting up jigs and table saw sleds to do repeat cuts. I set up as usual by building a 6”x6” quality control frame to which all pieces would be built to. We pulled out some scrap White Oak lumber cut offs from a past stair build project and ripped the ½” x 5/16” strips to cut to the mitered pieces. Once the four White Oak test pieces (outside frame in the diagram) were coming off the table saw sled and fitting perfectly into the frame, one of my very new apprentices got to cutting the 480 pieces. We actually cut about 520 because, you know, its wood working and sometimes a piece or two does not want to cooperate! Always cut more than you need while you are set up to do so.
The same process was done with the next pieces, the Brazilian Cherry trapezoids also made from parquet build leftovers. I set up the sled, checked for precision and cut another 520 pieces.
Lastly, was the center walnut button. These were very quick to make. Starting out with a 1-1/2” wide strip of American Walnut (also left over from another custom parquet build), I set up a stop on the table saw sled at the same 1 ½”. I bundled the strips into a pack of 20 pieces with wrapping plastic, made the first cut to trim the end of the pack, and in 27 strokes of the table saw sled, all 540 were made.
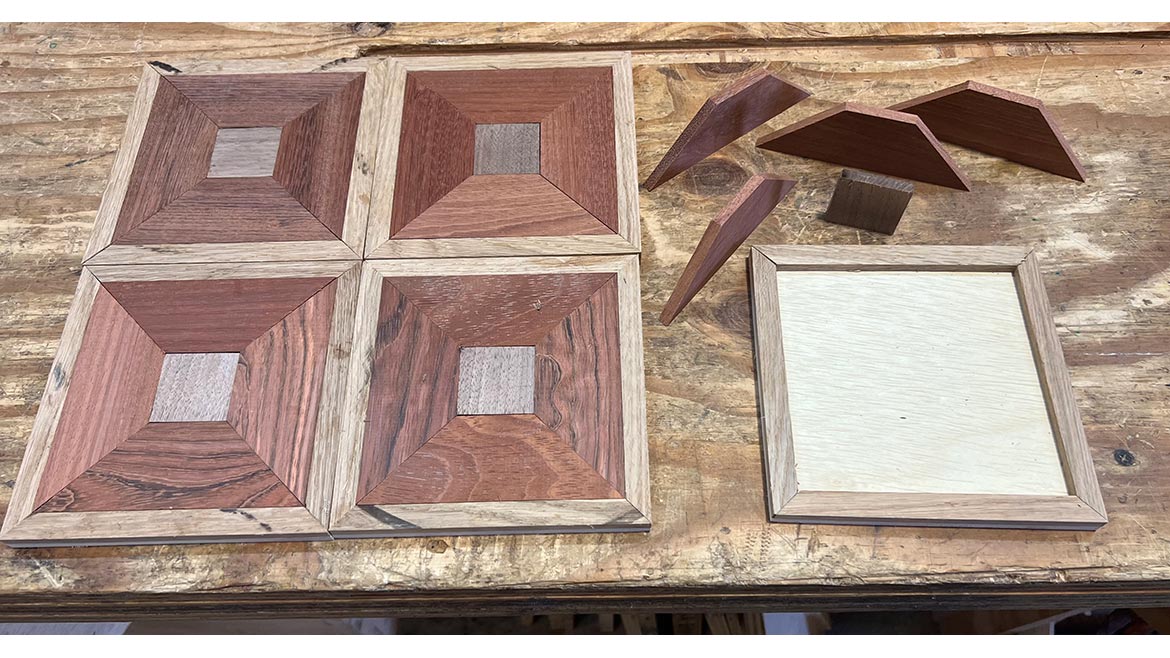
Photo: Lenny Hall.
Step 5: Cut the Backer Pieces
Next was a frame glue-up setup where the White Oak frames were glued to 6”x6” backing made of 5.2mm underlayment. Those 120 backer pieces were cut in the same way as the walnut pieces: in a pack of 10 at 96” long. Just a few pushes on the table saw sled and voilà! 120 pieces. The White Oak frames were set in a 4”x4” backing matrix inside a 24”x24” parquet build frame I have on hand for building parquets. These were glued in with epoxy for fast set up and reset. It took eight iterations over about two hours to complete.
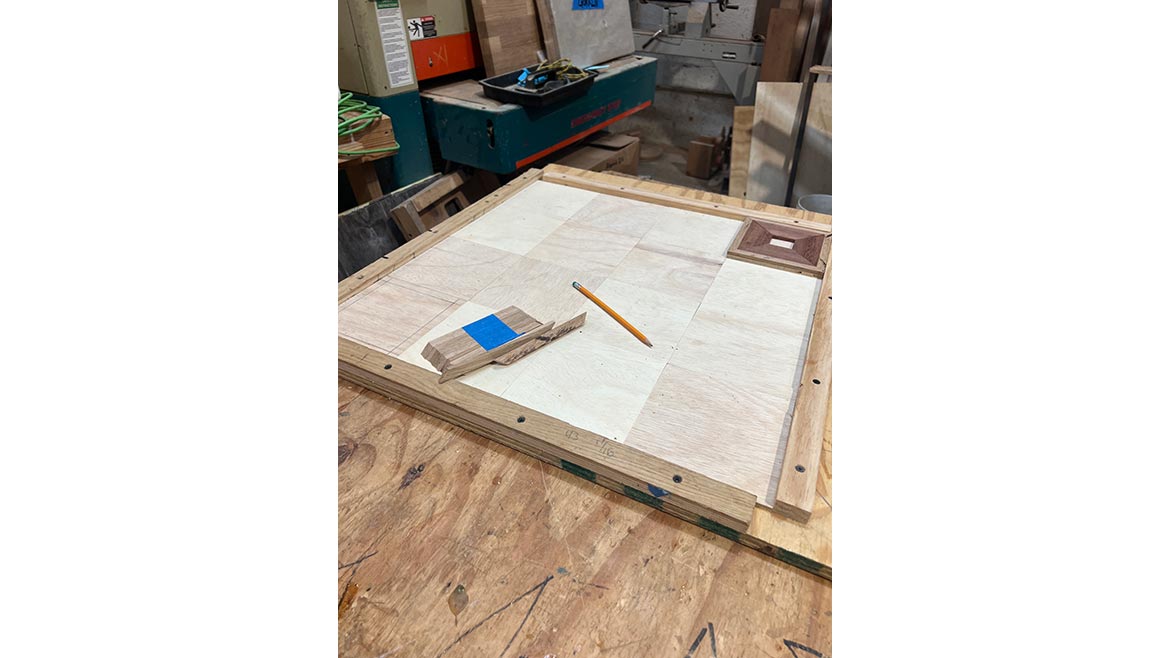
Photo: Lenny Hall.
Step 6: Pack and Ship
The pieces were packed into boxes and shipped to Milwaukee. All in all, we had 13 hours of shop time between my apprentice and me to cut up and pack the 120 – 6”x6” corner block components.”
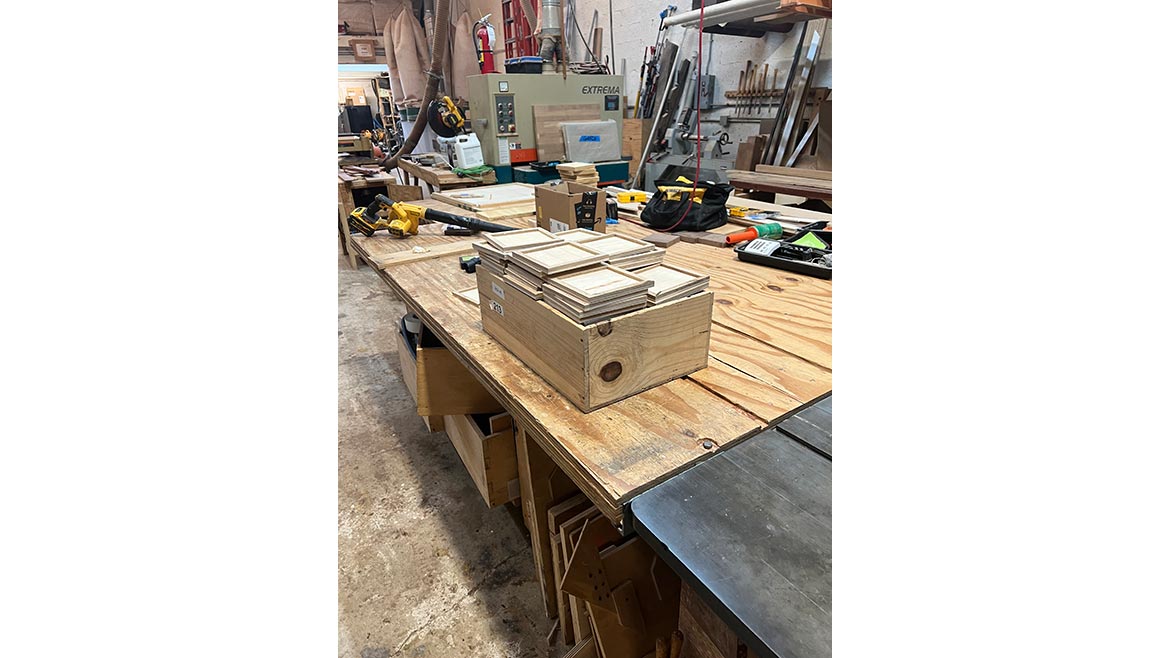
Photo: Lenny Hall.
Looking for a reprint of this article?
From high-res PDFs to custom plaques, order your copy today!


