How to Choose the Right Molding for Hardwood Installations
Photo credit: piovesempre/iStock / Getty Images Plus via Getty Images
Choosing the right molding is an essential part of any beautiful and successful flooring installation job. However, it can be difficult to choose the right piece for the job when many hardwood moldings and transitions can be used for similar applications. Here’s how:
Flooring Transitions
Will the planks be glued or nailed down, or is it a floating floor? If the planks are fixed securely to the subfloor, a flush mount profile can be used as the lip or groove will fit securely on the floor’s tongue. If the floor is floating, an overlap profile is required to allow the floor room to expand and contract or “float” without leaving any gaps.
Other moldings can serve a variety of functions as transitions from one room to another. Context is key when determining what molding to put in place. When the heights of the two adjacent floors are the same, a T-mold should be used for a simple transition. The “post” of the T shape is affixed in between the two floors and the “arms” of the T overlap the two planks or tiles that it lies alongside.
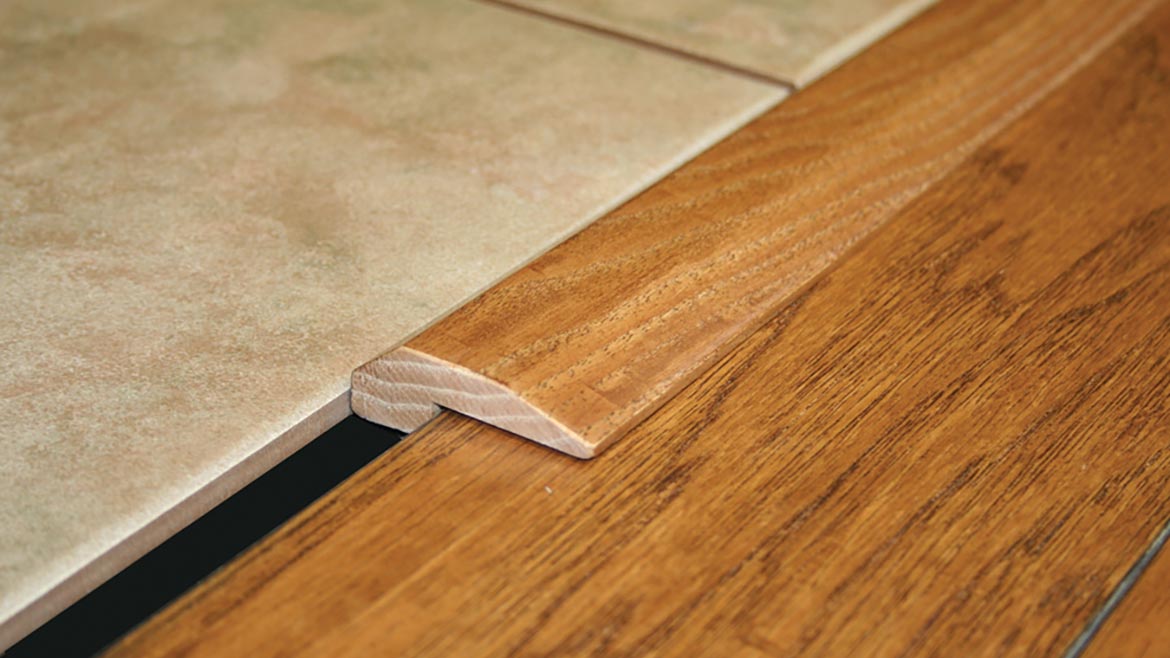
If the floors sit at different heights, however, a reducer is best employed to “reduce” the floor height down to the lower-set material. A reducer may sit flush with the higher flooring, as long as that floor is nailed down; if so, the reducer should be colored and textured to coordinate with the thicker floor - as if the floor itself is sloping down into the next room. Overlap reducers are an excellent solution when the thicker flooring is floating or is a different material from the floor it reduces down to. When this is the case, it is best to use a reducer blended against the lower floor for a smoother visual transition.
Similar to the reducer, the threshold is a useful molding to create a small stepdown from a hearth or fireplace, an exterior door, or to cover any especially large height difference between two adjacent floors. The threshold is by its nature an overlapping profile, and thus must not be affixed directly to the flooring it overlaps; instead, it should be secured to the subfloor at its base while the overlapping portion sits atop the higher surface.
Following these tips and guidelines, along with the molding manufacturer’s recommendations and installation instructions, will ensure a clean and solid install that will last years.
Stair Noses
Installing stair noses can bring up a lot of questions, as the profile has several different options. Common questions that may arise with stair noses include the size and shape of the bullnose. A client may want to ensure that the landing of their staircase is visually indistinguishable from the steps; in that case, a selection such as Artistic Finishes’ luxury flush stair nose #154 may be the right choice to coordinate with a round-nose tread. Squared stair noses (and treads, for that matter) are growing increasingly common as well for a sleek, modern look.
Once these functional and aesthetic considerations are taken into account, it is crucial to choose the correct size. Less-experienced installers will sometimes look for a stair nose exactly as thick as the flooring, assuming that this will give them a perfect fit. However, this assumption fails to account for variation in plank size and the logistics of a glue-down installation. A properly-sized stair nose is in fact slightly thinner than the flooring it borders, so that adhesive or a shim can be used to build its height up to that of the flooring. A ½” thick stair nose will not sit flush against a ½” thick floor once adhesive is applied to the underside as the glue bead will push the molding up and over, resulting in an inconsistent look and dramatically increasing the likelihood that the molding will fail under regular foot traffic.
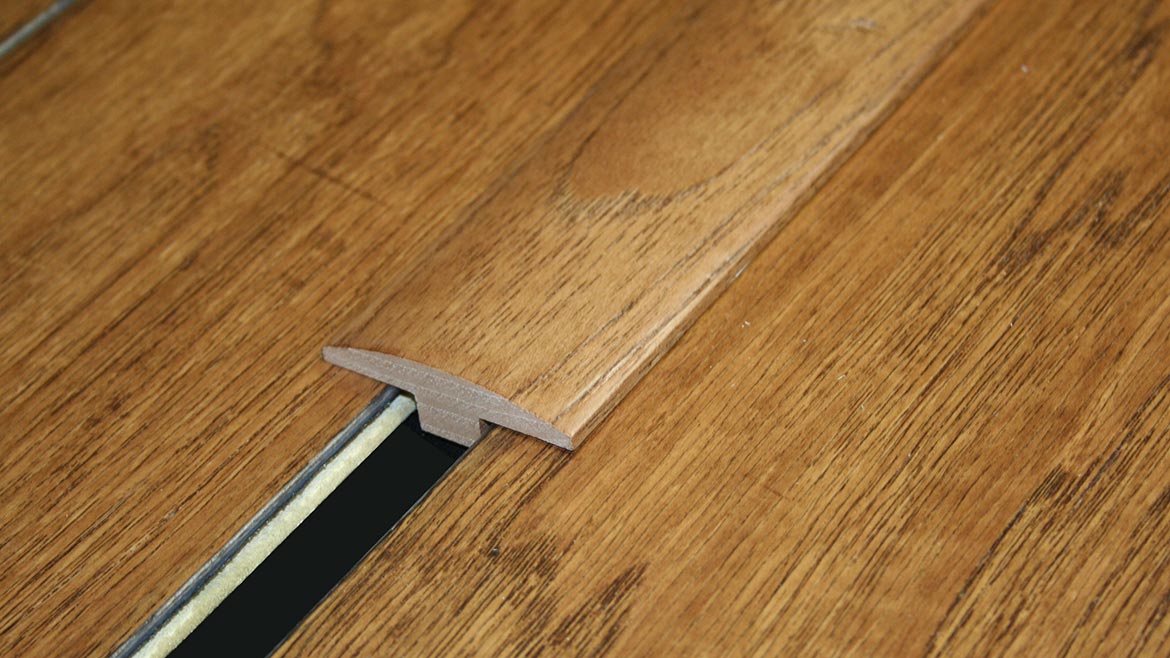
When the heights of the two adjacent floors are the same, a T-mold should be used for a simple transition. Photo: Artistic Finishes.
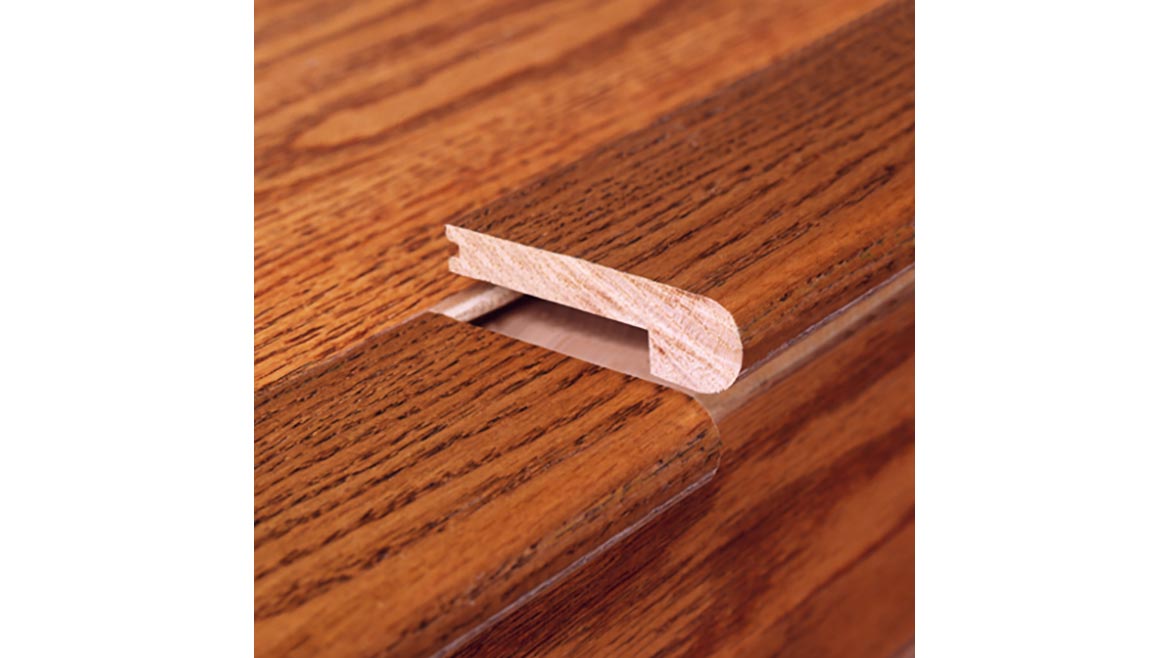
Less-experienced installers will sometimes look for a stair nose exactly as thick as the flooring, assuming that this will give them a perfect fit. Photo: Artistic Finishes.
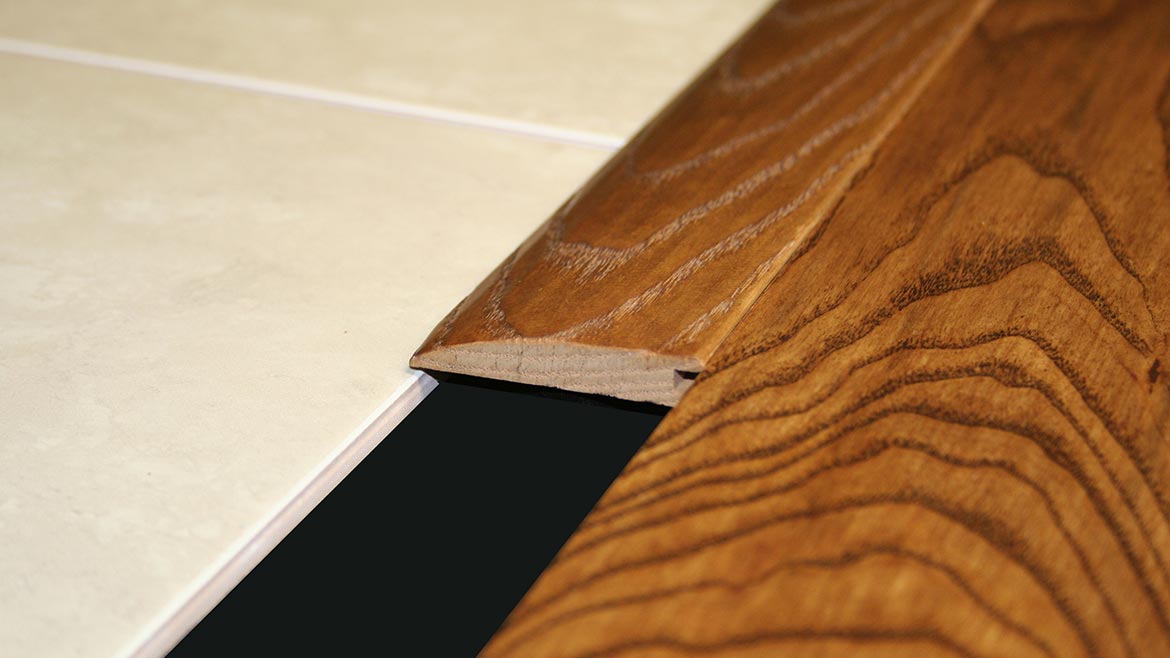
If the floors sit at different heights, however, a reducer is best employed to “reduce” the floor height down to the lower-set material. Photo: Artistic Finishes.
The threshold is by its nature an overlapping profile, and thus must not be affixed directly to the flooring it overlaps. Photo: Artistic Finishes.
When the heights of the two adjacent floors are the same, a T-mold should be used for a simple transition.
Photo: Artistic Finishes.
Less-experienced installers will sometimes look for a stair nose exactly as thick as the flooring, assuming that this will give them a perfect fit.
Photo: Artistic Finishes.
If the floors sit at different heights, however, a reducer is best employed to “reduce” the floor height down to the lower-set material.
Photo: Artistic Finishes.
The threshold is by its nature an overlapping profile, and thus must not be affixed directly to the flooring it overlaps.
Photo: Artistic Finishes.
Looking for a reprint of this article?
From high-res PDFs to custom plaques, order your copy today!


