How To Successfully Make Tile Outside Corner Cuts
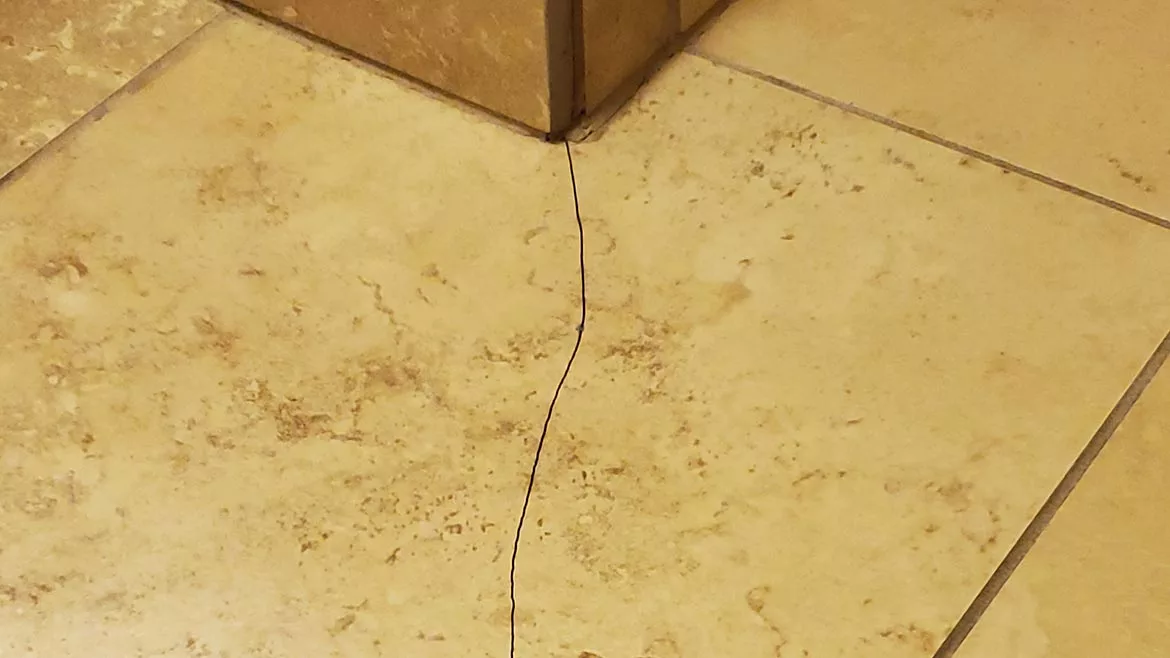
Failed corner cut.
Photo: Scott Carothers.
There are a number of things a tile installer must do to provide a high-quality tile installation that will stand the test of time. Meeting the American National Standards Institute (ANSI) standards, Tile Council of North America (TCNA) Handbook methods, industry-accepted best practices and manufacturer’s recommendations will provide excellent results, but the skill and experience of the installer plays a key role in this process especially when tile cutting is involved.
Given the abundance of good and better-quality snap cutters on the market, it is up to the installer to determine which cutter works best. The beauty of a snap cutter is that cuts along a wall can be made in rapid succession while still maintaining a professional look as well as providing for the ANSI requirements for the 1/4” movement accommodation joint around the perimeter. This is where good time management comes into play. Making cuts in this way allows the installer to stay on his or her knees without the need to get up and down constantly to make cuts, saving a significant amount of time. If quality can be maintained by using the right equipment while also increasing speed and efficiency, the installer can make more money.
We all know that on every job there will be cuts required that fit around an outside corner of a wall or cuts at a door jamb. Here, the use of a wet- or dry-cutting saw is needed to accurately make the L- shaped cut. Two passes on the saw and the cut is complete. Or is it? As you can see in the image, the corner cut along the wall has failed. What happened? Did the installer overcut the corner or was too much pressure applied to the tile to eliminate lippage to the next tile? We really don’t know the answer, but there is one thing we do know. A tremendous amount of stress has been placed on the tile where the 90-degree cut creates a weak spot. This location will allow a crack to occur as it is being set or it could happen sometime later, which results in a no-pay callback.
There is a remedy. Before cutting the tile on the saw, drill a 3/16” or ¼” hole at the intersection of the drawn lines with a better-quality spade or core bit. Using the saw, cut to but not beyond the drilled circle from either side. The secret is that the stress at an outside corner follows the circle and continues to the other side of the cut, yielding no cracks from the corner.
Problem solved. No callback, which keeps your money in your pocket where it belongs.
Looking for a reprint of this article?
From high-res PDFs to custom plaques, order your copy today!